
Photoshop Step-by-Step: Composite via Color Range
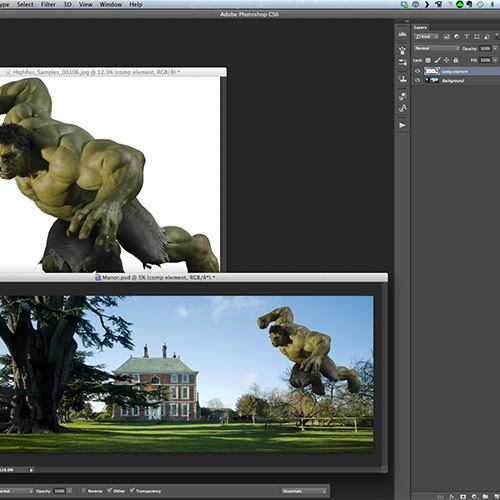
Open two images, one which will serve as your background, and another that will be extracted and placed onto your background image as a floating layer.

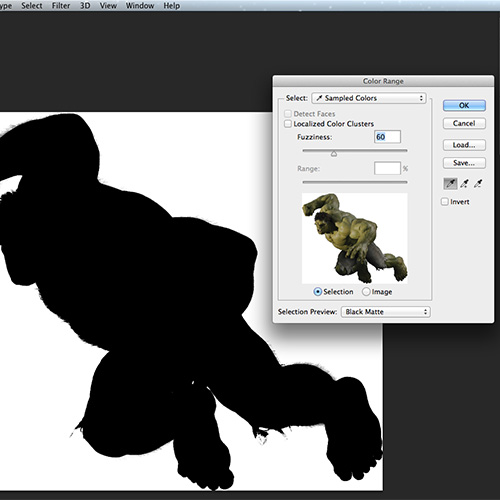
Choose your subject image and click Select > Color Range
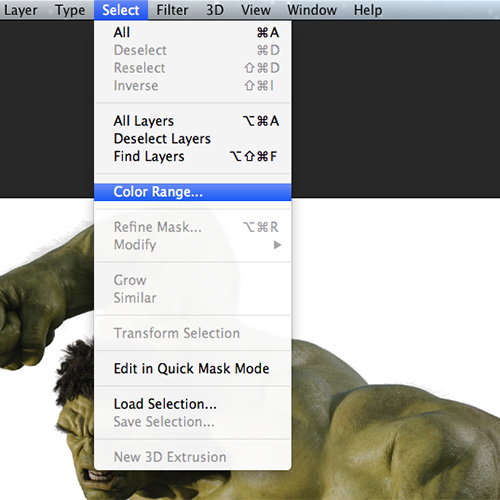
You will want to “Select” using sampled colors. Notice the drop down menu. If you look at the bottom of the interface is the drop down menu called “Selection Preview.” Grayscale will provide you with a preview of what the color range will select. Keep in mind that under Grayscale, White represents what is selected and black what is not selected. Any tones in between will be a partial or transparent selection.
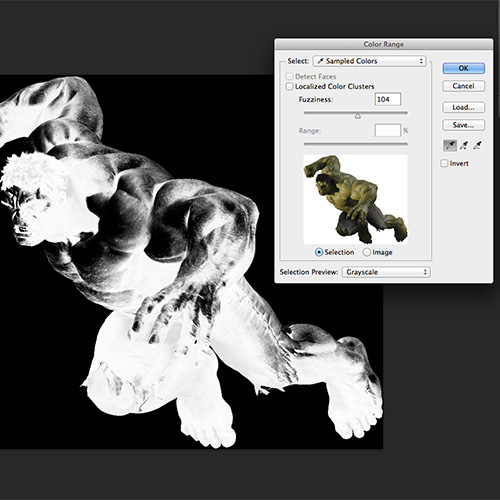
Use your eyedropper cursor to select the white area of the image.
Now bring your attention to the “Fuzziness” slider. If you drag it to the left or right it will select either more or less pixels which are similar to the pixels that you clicked on. Since we have clicked on the white background it color range will also pick the bright pixels of our subject if the fuzziness slider is too far to the right.

Notice that the highlights in our subject have disappeared from our selection. We now have a much more accurate selection which will be used to extract the subject from the white background.
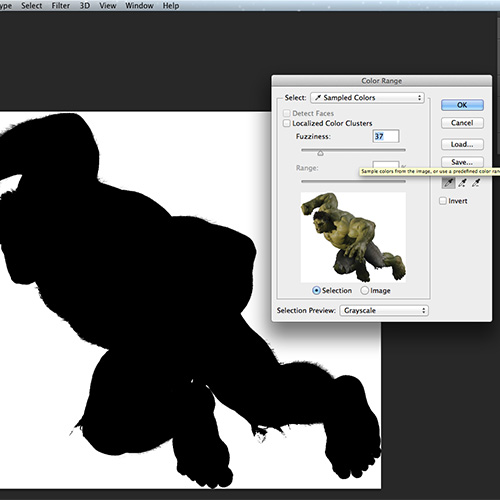
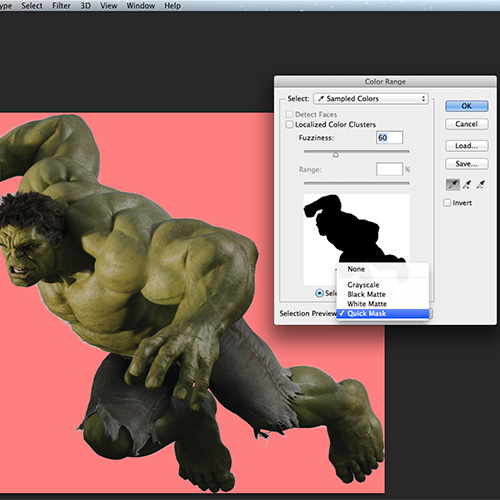
Let us now look at the “Selection Preview” drop down menu and try out some of the options.
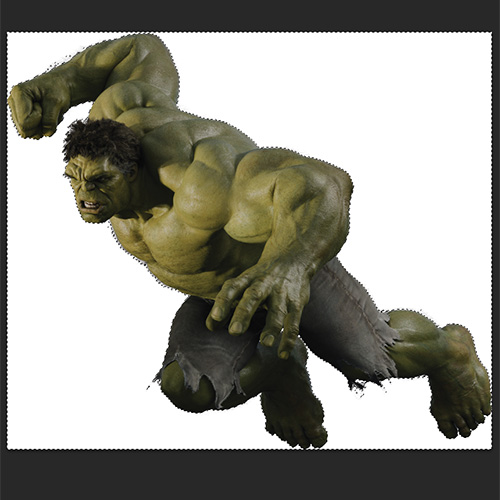
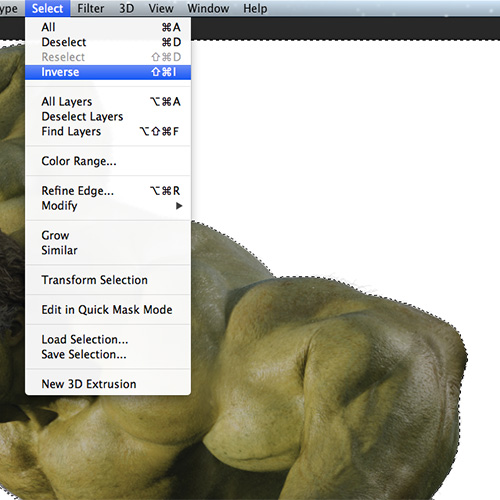
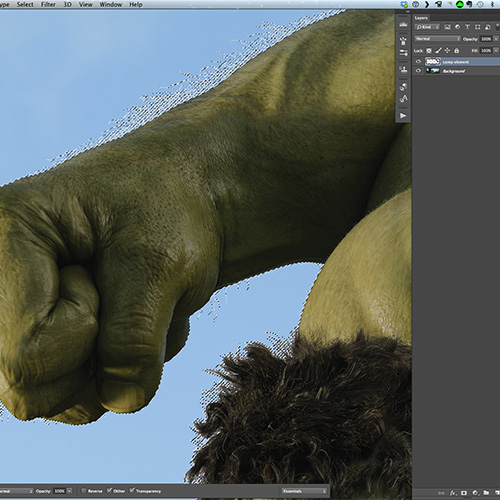
Once you hit OK, you will have “marching ants” surrounding our white background. Please note that this is a selection of the white, not of the subject. We must inverse the selection.
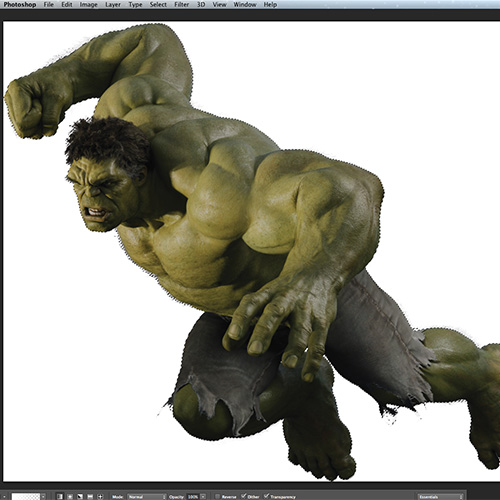
Marching Ants are only around the subject now.
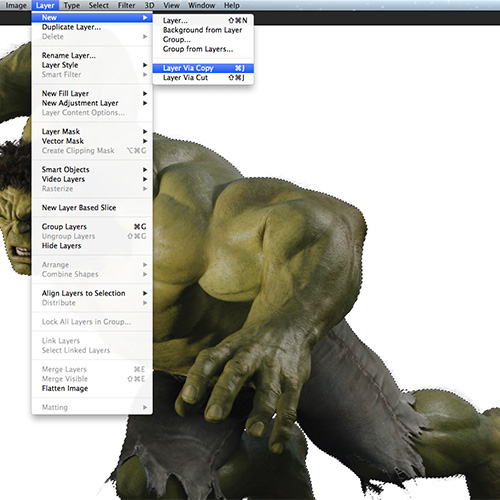
Lets make a copy of this selection of the layer using Layer Via Copy
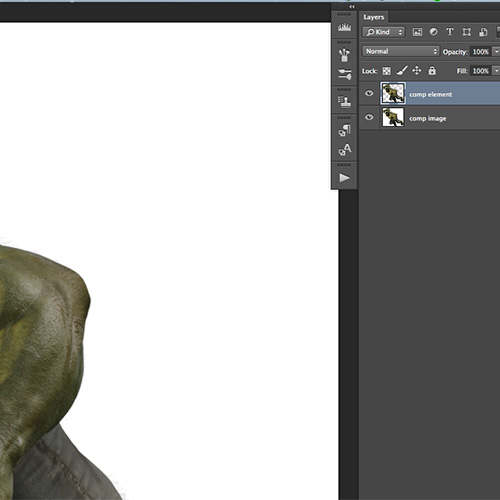
Notice the second layer. Let rename it to Comp Element. This will be dragged onto our “Background Scene” image.
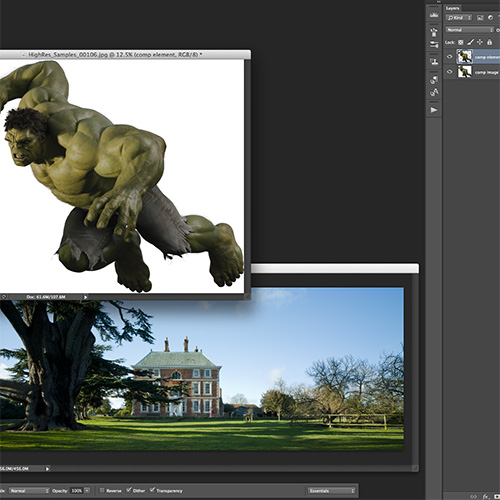
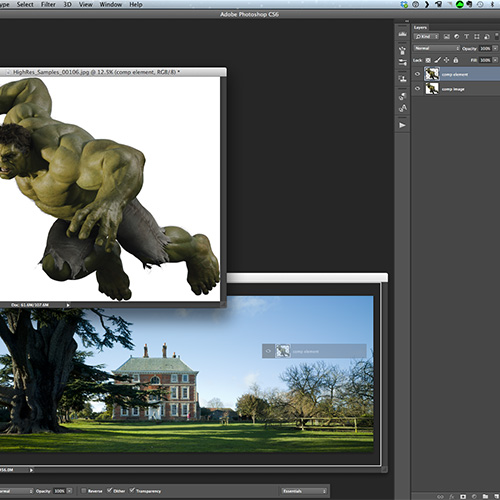
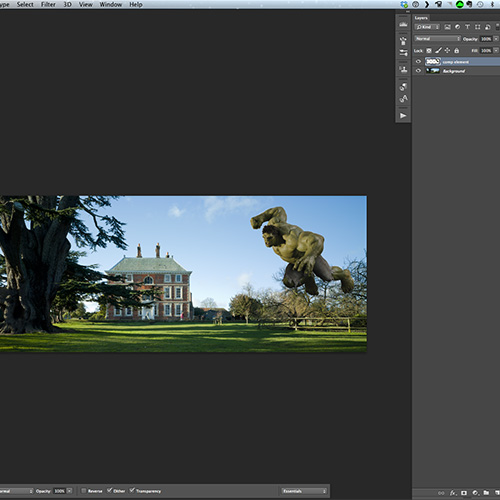
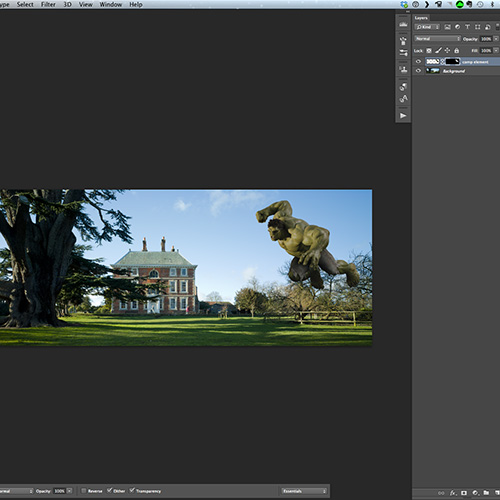
Just drag the layer onto the background image.
Let us now “Refine” our selection.
Hold the Command Key and click the “Comp Element” layer. Notice that the marching ants appear again.
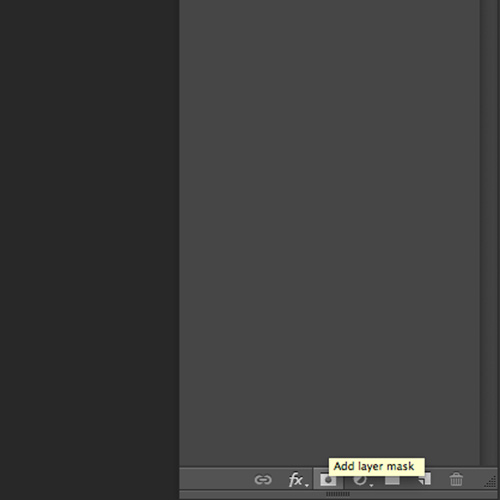
Click the “Add Layer Mask” icon on the bottom of your layer’s panel.
Notice the mask

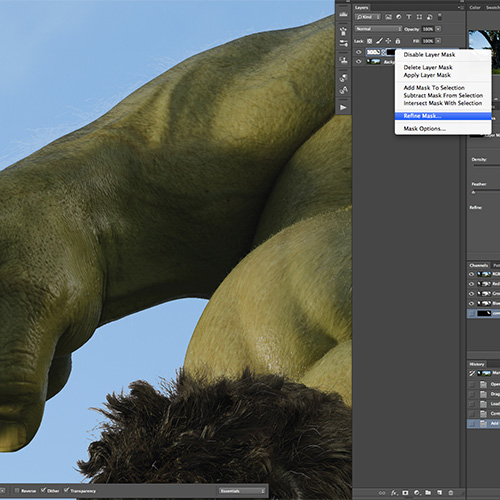
Now Right Click the mask icon and choose “Refine Mask”
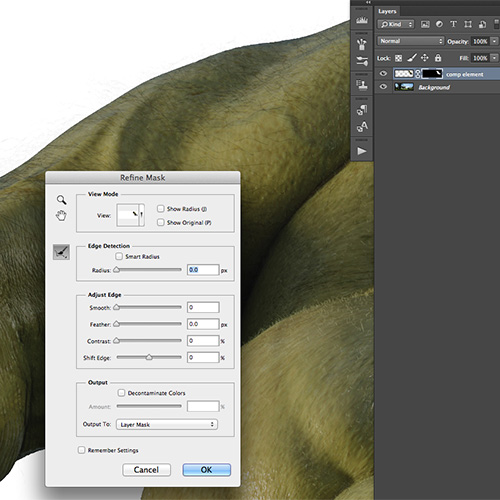
Familiarize yourself with the interface.
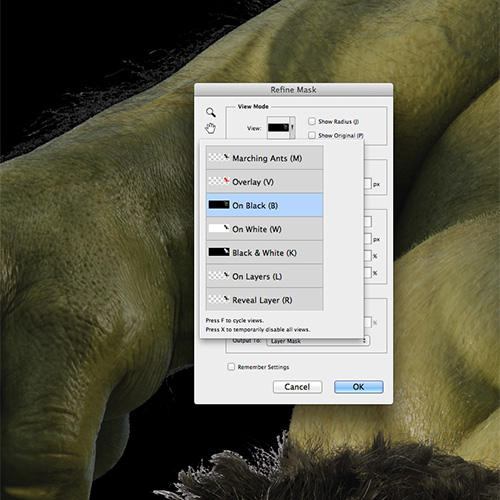
Notice the View Modes. For this case, viewing “On Black” will give us the best preview of our selection edges.
Lets make some adjustments to the Radius, Feather and Shift the edge to the left so eliminate some of the white halo pixels.
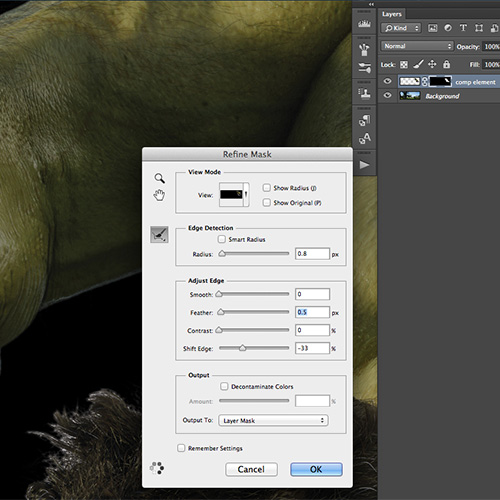
Hit OK and notice our cleaner mask.
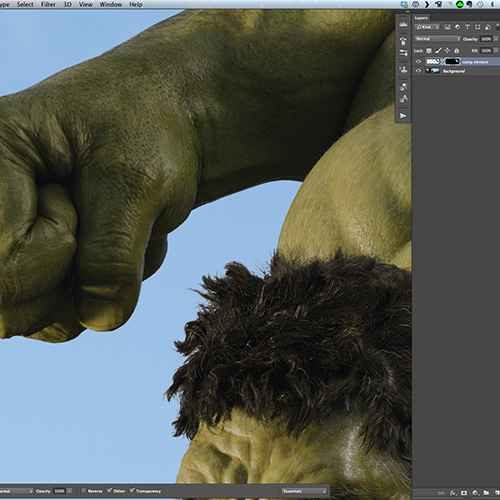
Feel free to position your subject layer into a better position. You may also transform the subject to resize or reshape it so that it better matches your background image.
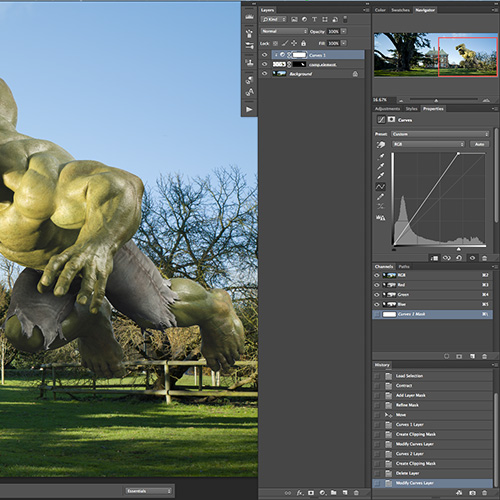
Now lets take advantage of our layered subject and alter the contrast using a clipping mask of a curve adjustment layer. We will increase the white point and black point to better match the contrast of the background image.

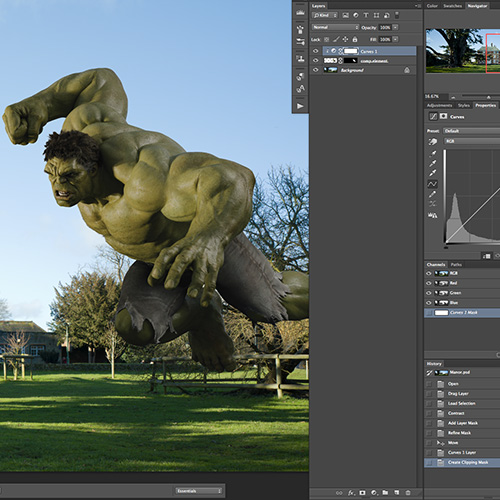
Drag the white point to the left to increase the luminosity of the image.
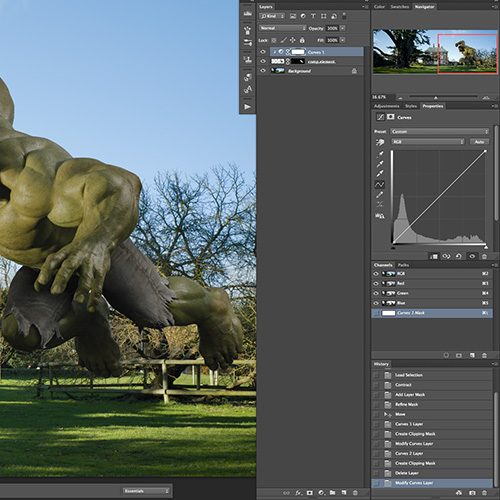
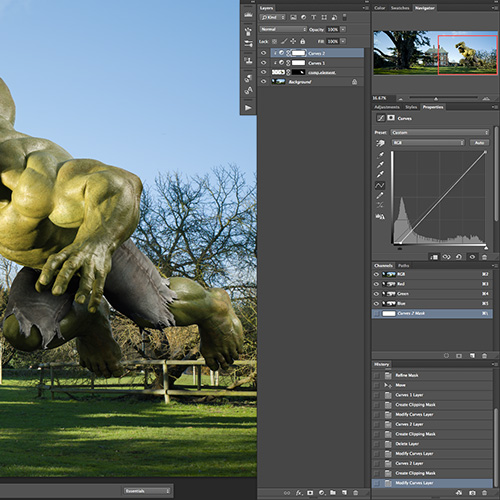
Create a second curve to adjust the black-point.
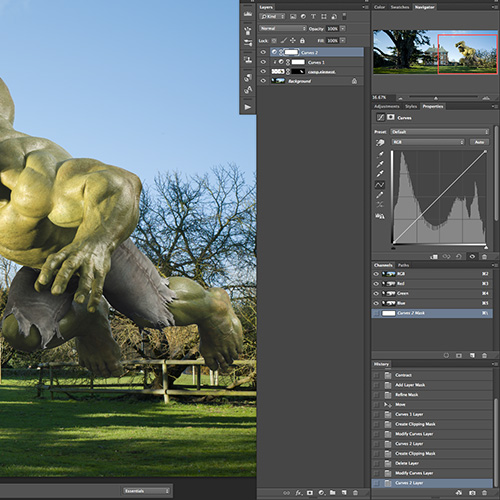
Clip the adjustment layer to the subject layer, and drag the black point to the right to give the shadows more snap.

- Jeremiah Dart